Thanks for purchasing the BlogShop WordPress Theme. if you have not bought it. Click Here to Buy this documentation some options may not work for free users.
How to install WordPress
To get this theme you must have WordPress already installed. If you need help installing WordPress, follow the instructions in WordPress Codex or you can watch the Instruction Video created by Theimran. or you may hire our expert only for 50$ to do it for you.
Below are some useful links on WordPress information:
- WordPress Codex – general information about WordPress and how to install it on your server.
- First Steps With WordPress – general information included a wide variety of topics.
- FAQ New To WordPress – most Frequently Asked Questions regarding WordPress.
After complete setup WordPress logging to your WordPress Admin area. and follow below instruction.
Table Of Content
- Theme Install
- Required Plugin Install
- Theme Options
- how to create a gallery post
- how to create an audio post
- how to create a video post
To install theme Go To Dashboard > Appearance > themes > Add new
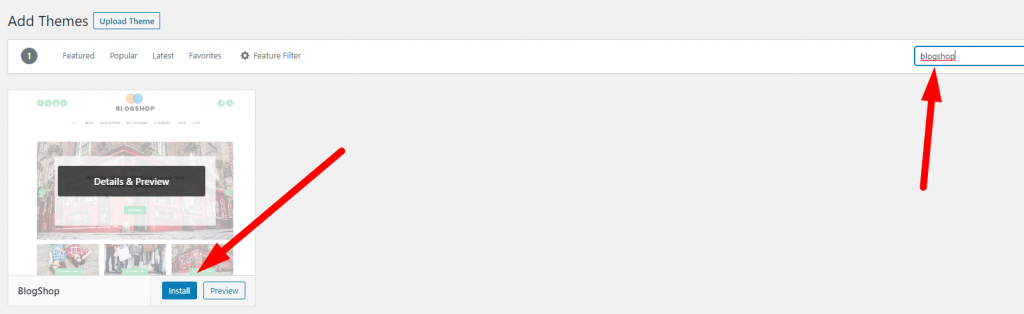
1. Install Free Theme
To install Free theme just click on the search box. and type “BlogShop” follow below Screenshot
2. Install Pro Theme
To install the BlogShop Pro theme login to your account. and download the theme blogshoppro.zip file. and follow the below screenshot.

Install Required Plugins
After the active BlogShop theme, you will get a notification to install and active all required plugin. Click on the Begin installing plugins link. it will take you to the plugin install page. just install and active all plugins.
Theme Options
BlogShop WordPress theme has lots of options to customize your site look. to check all options go to the.
Dashboard > Appearance > Customize > BlogShop Settings
Bellow, I explained how each option works according to the number.

1. Topbar Section
Here you can enable and disable Topbar section. Note: Topbar section not available in every header layout.
2. Header Layout
Here you can change the header layout. 4 Responsive Header layout is available.
3. Sticky Header
To enable and disable the sticky menu.
4. Social Links
To show social links just type your social link. and just keep empty if you do not like to show social icon.
5. Featured Section
here you can full control featured section. if you do not understand anything just leave me a message.
6. Sub Featured Section
here you can full control sub featured section. if you do not understand anything just leave me a message.
7. Footer NewsLetter
Here you can type newsletter title and past subscribe form shortcode.
8. Footer Column
Here you can change the footer column layout.
9. Preloader
Here you can on/off preloader and upload preloader image.
10. Blog Settings
Here you can control all blog settings.
11. Front Page
Here you can control all front-page settings.
12. Typography
Here you can control your website typography.
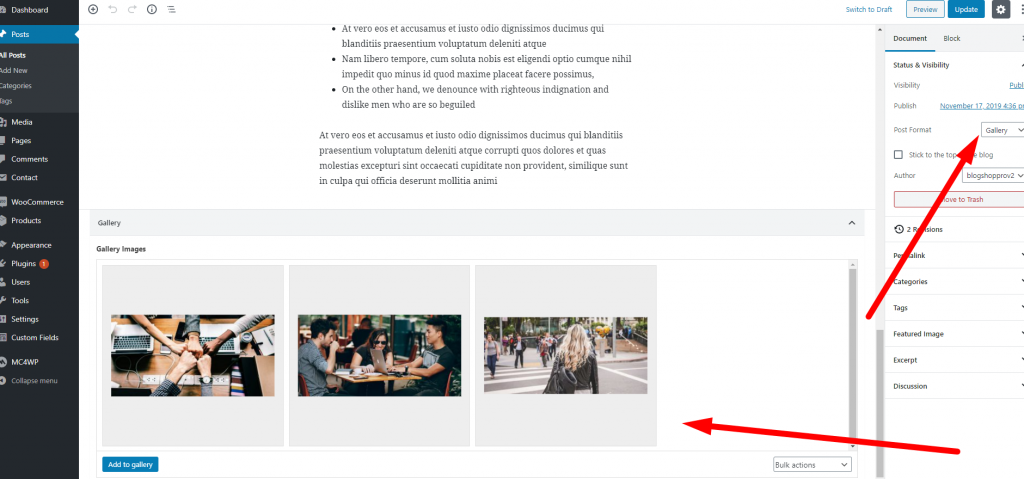
How to create a gallery post type
This method you can apply for each post formate. follow me step by step.
First, make sure you are using blogshop pro version. cause, these options only available in the pro theme.
Go Dashboard > Posts > Add New button and type your post title and choose post formate gallery and then publish it after that refresh the editor page.